After an emergency, you’re exhausted.
Maybe a hurricane just passed through your neighborhood. Maybe an ice storm knocked out the power. Or perhaps a tornado, flood, or unexpected blackout has turned your normal routine upside down.
You haven’t slept well. You’re checking on family, cleaning up, and trying to figure out what comes next.
Then someone asks the question everyone eventually asks.
“What’s there to eat?”
A hot, home-cooked meal sounds wonderful. But what if you don’t have electricity? What if you can’t use your stove? Or what if you’re simply too tired to cook?
The last thing you want to do is dig through pantry shelves trying to put together a meal.
What if breakfast was already packed?
What if lunch and dinner were ready, too?
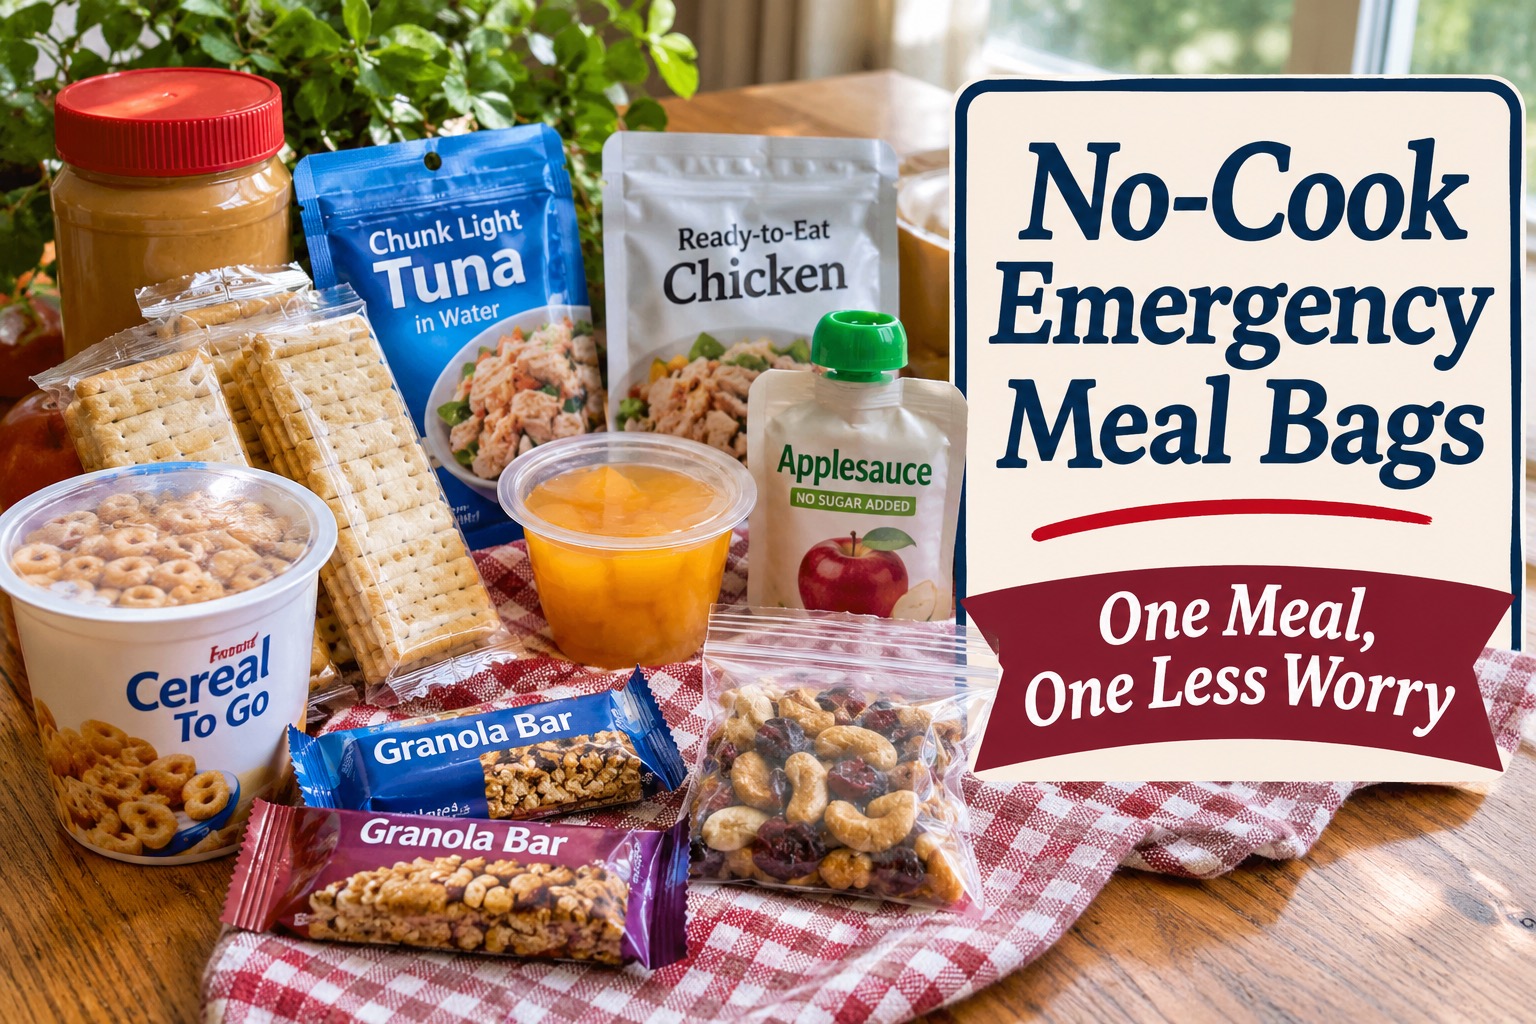
That’s the idea behind no-cook emergency meal bags.
One bag. One meal. One less decision when your brain is already overloaded.
You don’t need expensive survival food or complicated recipes. You can build simple meals using shelf-stable foods your family already enjoys.
And you can start with just one bag.
Why Make No-Cook Emergency Meal Bags?
Emergencies create enough work without adding meal planning to the list.
You may spend your day checking for damage, helping family members, charging phones, or cleaning up.
By mealtime, you want something easy.
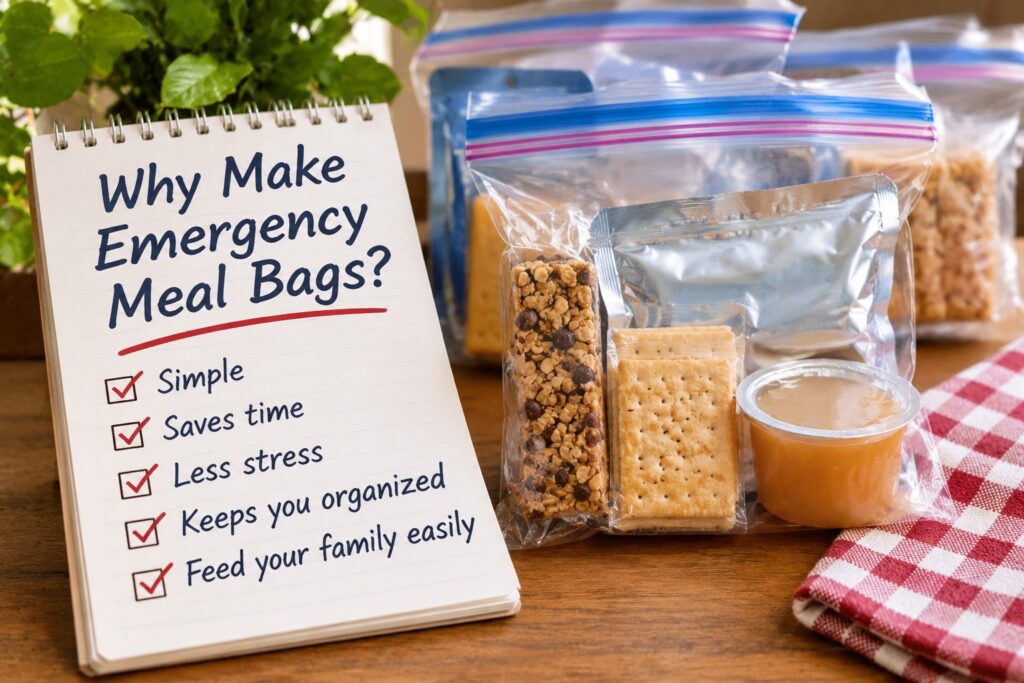
No-cook meal bags take the guesswork out of feeding your household.
Each bag contains the food one person needs for a single meal. When it’s time to eat, grab the right bag and you’re ready.
You don’t have to search through your pantry or decide what to serve.
Meal bags also help you organize your emergency food. You can see what you have, what you need, and how many meals you’ve prepared.
If you’re new to preparedness, start with our article, Five Things That Help Us Stay Calm for the First 72 Hours.
Start With Foods Your Family Already Enjoys
Before you buy anything, look through your pantry.
You may already have crackers, peanut butter, canned fruit, tuna pouches, granola bars, and other foods that work well in emergency meals.
Ask yourself a few questions:
- Will my family actually eat this?
- Can we eat it without cooking?
- Does it need refrigeration?
- Is it easy to open and serve?
- Will it provide enough food to satisfy the person eating it?
Choose foods that are ready to eat, easy to store, and familiar to your family.
An emergency is not the time to experiment with foods nobody likes.
The meal ideas below are starting points, not complete nutrition plans. Adjust portions and add foods based on each person’s age, appetite, and dietary needs.
Remember that someone doing physical cleanup after a storm may need more food than usual. Check serving sizes and calories when putting your bags together. A protein bar and a handful of nuts might be enough for one person but leave another hungry.
Five Easy No-Cook Breakfast Bags
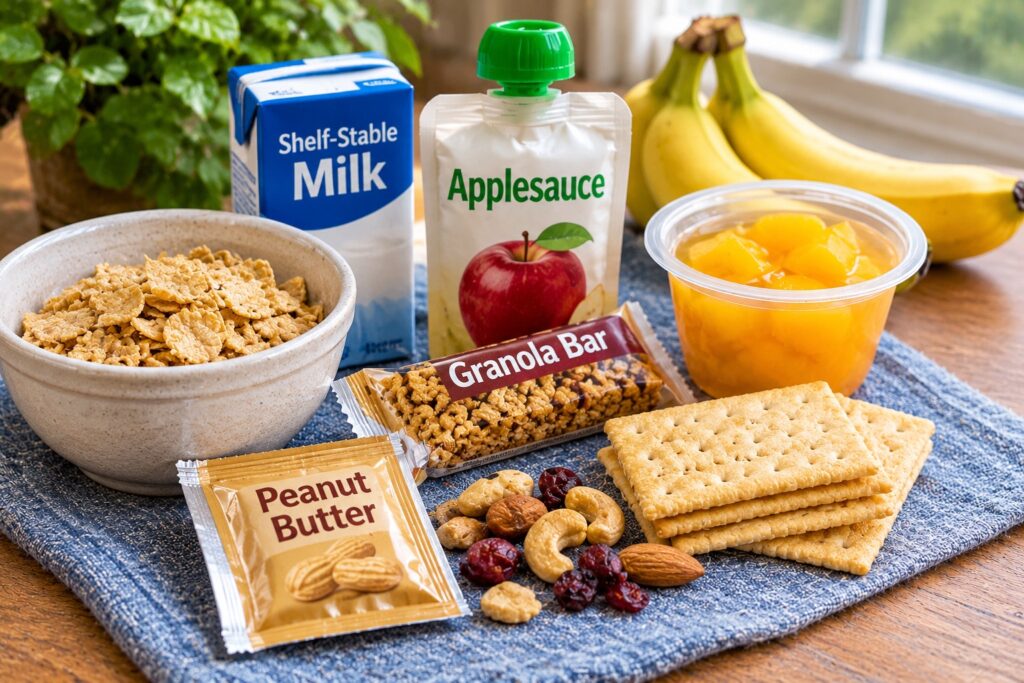
Breakfast doesn’t need to be fancy. It just needs to give everyone a good start to the day.
1. Simple Start
- Protein bar
- Applesauce pouch
- Mixed nuts
2. Peanut Butter Morning
- Peanut butter packet
- Whole-grain crackers
- Raisins or dried cranberries
3. Cereal To Go
- Individual cereal cup
- Shelf-stable milk
- Fruit cup
4. Fruit and Fuel
- Trail mix
- Granola bar
- Banana chips
- Applesauce pouch
5. Comfort Morning
- Individually wrapped mini muffins
- Breakfast biscuits
- Mixed nuts
If you have a safe way to heat water, instant oatmeal makes another easy breakfast. But don’t count on having hot water.
Build your basic meal bags with foods you can eat right out of the package.
Five No-Cook Lunch Bags
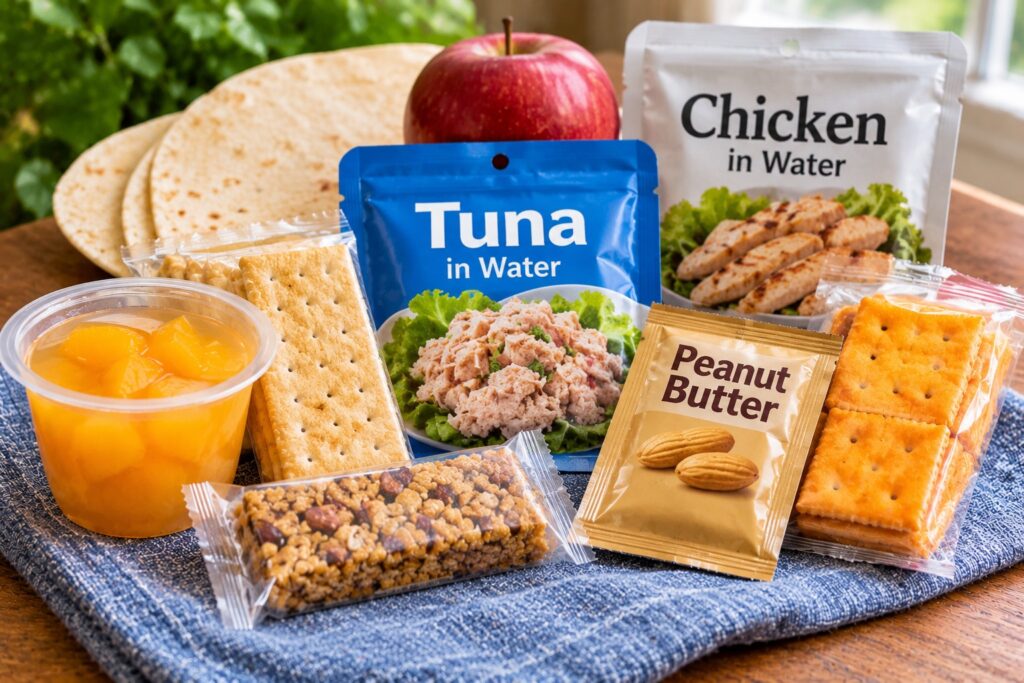
Lunch should be simple, filling, and easy to eat.
Here are five combinations to get you started.
1. Peanut Butter and Crackers
- Peanut butter packet
- Whole-grain crackers
- Applesauce pouch
- Granola bar
2. Tuna Lunch
- Ready-to-eat tuna pouch
- Crackers
- Fruit cup
- Cookie pack
3. Cheese and Crackers
- Cheese crackers
- Shelf-stable beef stick
- Dried fruit
- Granola bar
4. Southwest Lunch
- Shelf-stable tortilla
- Ready-to-eat chicken pouch
- Taco sauce packet
- Corn chips
- Fruit snacks
5. Chicken Lunch
- Ready-to-eat chicken pouch
- Crackers
- Applesauce pouch
- Trail mix
Choose single-serving packages whenever possible. They make portioning easier and reduce the need to store leftovers without refrigeration.
Five Easy No-Cook Dinner Bags
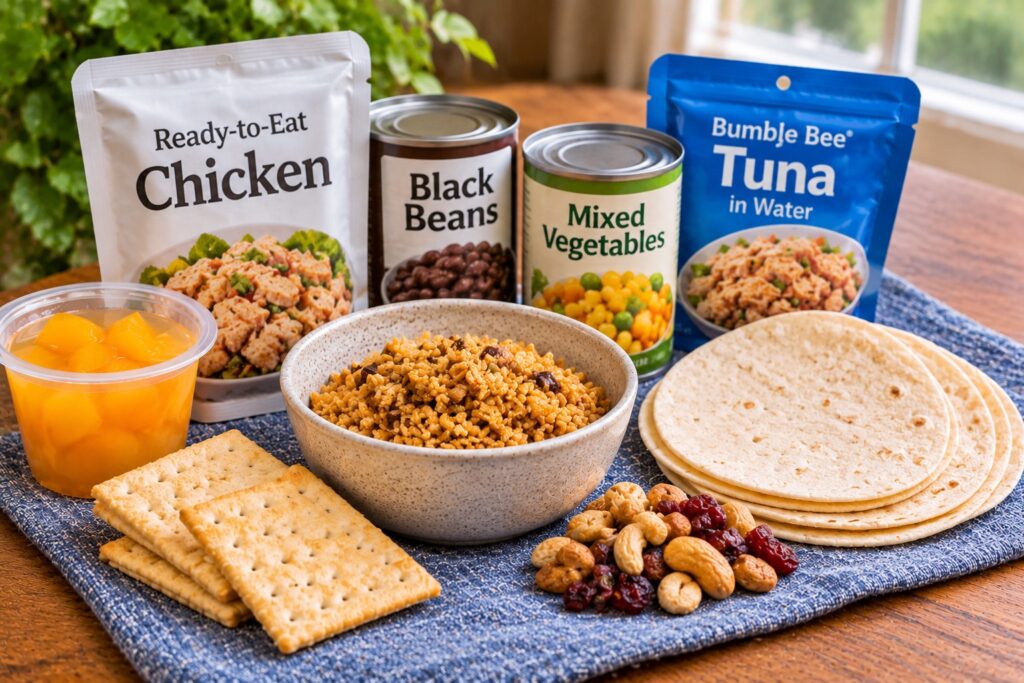
After a long day, dinner can be the hardest meal to plan.
These combinations require no cooking and very little cleanup.
1. Chicken and Crackers
- Ready-to-eat chicken pouch
- Crackers
- Mixed nuts
- Fruit cup
- Chocolate square
2. Tex-Mex Dinner
- Shelf-stable tortilla
- Ready-to-eat chicken pouch
- Salsa packet
- Corn chips
- Cookie
3. Protein Dinner
- Beef jerky
- Mixed nuts
- Peanut butter crackers
- Dried fruit
4. Simple Supper
- Shelf-stable summer sausage
- Crackers
- Cheese crackers
- Applesauce pouch
- Cookie
5. Tuna and Bean Dinner
- Ready-to-eat tuna pouch
- Single-serving ready-to-eat beans
- Crackers
- Fruit cup
Always check food labels. Some sausages, cheeses, and prepared foods require refrigeration, even when the packaging looks shelf-stable.
Choose products that clearly state they can remain unopened at room temperature.
A quick food safety reminder: Once you open a pouch or can of perishable food, eat it promptly if refrigeration isn’t available. Don’t save leftovers that need to be kept cold.
If you substitute canned foods for pouches, make sure you have a manual can opener. Better yet, choose pull-tab cans when practical.
Don’t Forget Emergency Snacks
Stress, physical work, and changes in routine can make people hungry between meals.
Keep a separate bag or container of snacks so nobody needs to open tomorrow’s meal bags.
Good choices include:
- Granola bars
- Trail mix
- Mixed nuts
- Peanut butter crackers
- Pretzels
- Popcorn
- Dried fruit
- Applesauce pouches
- Shelf-stable beef sticks
- Cookies
Snacks can also provide comfort during a difficult day.
There’s nothing wrong with including a favorite treat.
What Should Everyone Drink?

Water comes first.
Plan to store at least one gallon of water per person per day for drinking and basic hygiene. Hot weather, medical needs, and other conditions may require more.
You can also include:
- Juice boxes
- Shelf-stable milk
- Electrolyte drink packets
- Individual drink mix packets
Keep your main emergency water supply separate from your meal bags. That makes it easier to track how much water you have available.
And remember to store extra water for pets.
Add a Few Helpful Extras
Food isn’t the only thing that belongs in your meal bags.
Consider adding:
- Disposable forks and spoons
- Napkins
- Wet wipes
- Salt and pepper packets
- Single-serving condiment packets
- Small trash bags
Choose condiments that can safely stay at room temperature before opening.
If you might need to evacuate, keep disposable cups and a few extra utensils in your emergency bag or tote.
These small supplies can make mealtime much easier when you don’t have running water or a working kitchen.
How Do I Organize My Emergency Meal Bags?
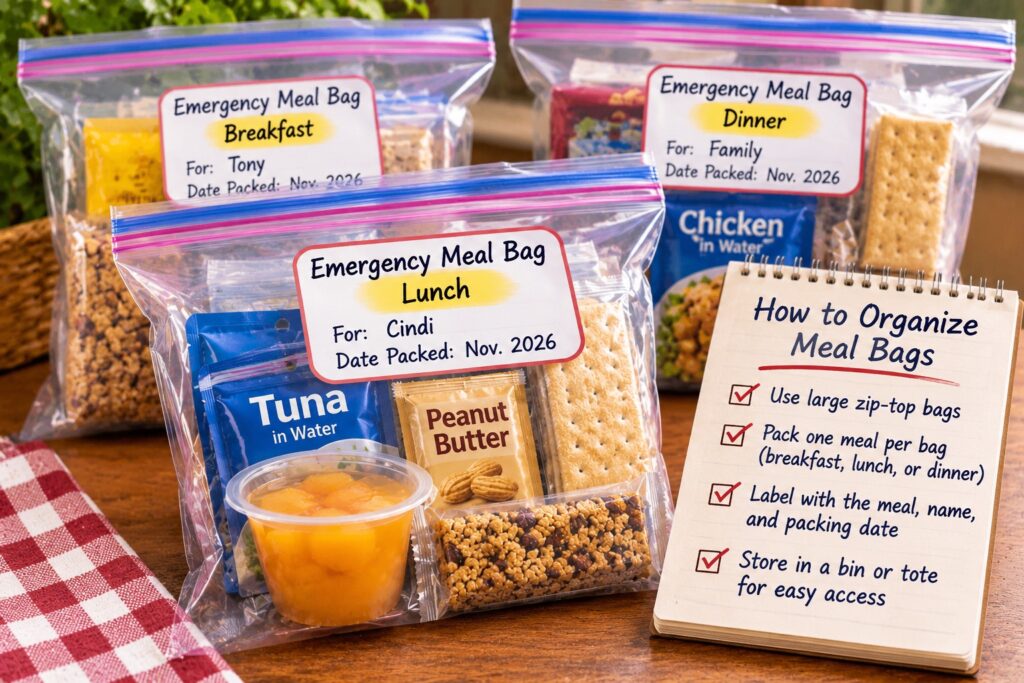
You don’t need an expensive storage system.
Start with sturdy zip-top bags or another container that works for your household.
Label each meal bag with:
- The person’s name
- Breakfast, lunch, or dinner
- The date you packed it
- The earliest best-by date of the foods inside
Keep your meal bags together in a labeled container.
For a three-day supply, plan on nine meal bags per person: three breakfasts, three lunches, and three dinners.
A family of four would need 36 meal bags.
That may sound like a lot, but remember, you don’t have to make them all today.
Start with one meal. Add another when you can.
Also, think about how much food each person needs. A small child and a hungry adult won’t necessarily need the same portions.
What About Special Dietary Needs?
Every household is different.
If someone has diabetes, food allergies, trouble chewing, or another dietary restriction, build meal bags around foods they can safely eat.
Don’t assume one meal plan will work for everyone.
Include familiar foods that meet each person’s needs. Check labels carefully, especially for allergies.
If someone follows a medically prescribed diet, make sure their emergency food fits that plan.
Preparedness is personal.
The goal isn’t to pack identical meals. It’s to make sure everyone has food they can safely eat.
Where Should I Store My Meal Bags?
Store your meal bags in a cool, dry place inside your home.
Avoid hot garages, attics, and vehicles. High temperatures can shorten the shelf life of packaged foods and affect their quality.
Keep the bags away from direct sunlight, moisture, and pests.
Check the packages for damage before using them.
And if a food package looks swollen, leaks, or shows signs of damage, throw it away.
How Often Should I Check My Meal Bags?
Set a reminder to check your emergency meals every six months.
Look at the dates on the packages and inspect the food for damage.
As foods approach their best-by dates, use them in your regular meals and replace them with fresh items.
Follow the manufacturer’s storage directions and use-by dates when provided.
This simple rotation helps prevent waste and keeps your emergency food ready when you need it.
Do Emergency Meal Bags Have to Be Perfect?
Absolutely not.
They don’t need to look beautiful or match the pictures you see on Pinterest.
They just need to work for your family.
Choose foods you enjoy. Pack enough for each person. Store everything safely, and check your supplies from time to time.
That’s it.
The best emergency meal bag isn’t the fanciest one.
It’s the one your family will actually eat after a difficult day.
This Week’s Prepared = Peaceful Challenge
This week, make one no-cook emergency meal bag.
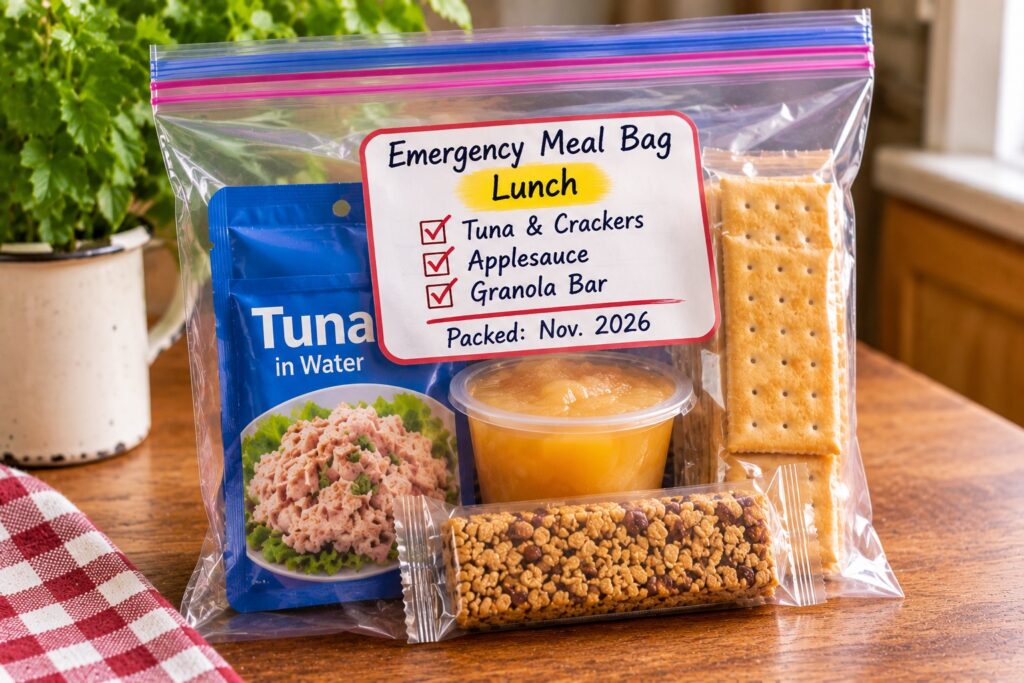
Choose breakfast, lunch, or dinner.
Look through your pantry first. See what you already have before heading to the grocery store.
Put the food in a bag, label it, and store it somewhere safe.
Once you’ve made one, you’ll have a better idea of what works for your household.
Then make another.
Before long, you’ll have enough meals for 72 hours. From there, you can work toward a seven-day supply.
You don’t have to prepare for everything at once.
One bag. One meal. One less worry.
Prepared = Peaceful.
Want an Easier Way to Get Your Family Prepared?
Download my free Simple Family Emergency Plan and get the important information organized before you need it.
Get the Free Emergency Plan