
Ask someone who’s lived through a hurricane, a fire, or a flood what they wish they’d grabbed on the way out the door, and almost nobody says the sofa. Or the television. Or, most of the time, even the paperwork.
They say the photos.
The ones on the refrigerator. The shoebox in the closet. The album on the bookshelf. The pictures nobody ever got around to scanning because there was always going to be more time.
We spend a lot of energy preparing for the practical things—and we should. Food. Water. Flashlights. A generator. A plan.
But our memories deserve preparation, too.
You can request a new copy of a birth certificate. You can replace a piece of furniture. You cannot request another copy of the only photograph you have of your grandmother as a young woman or the picture of your children opening presents on Christmas morning.
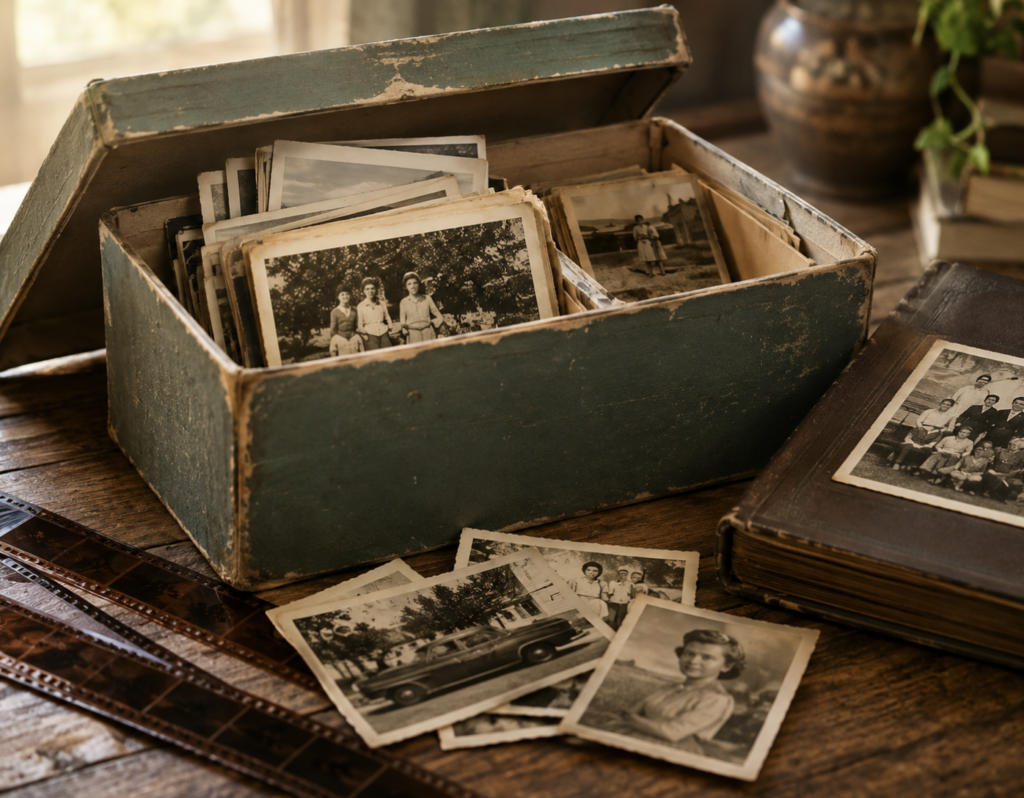
Protecting those memories is preparedness, too.
Why I Finally Started
I’ve been putting this off for years.
Boxes of prints. Old albums. A cedar chest filled with photographs and paperwork from our adoption trip to Russia in 1994 that I still haven’t fully gone through. And negatives. So many negatives, and not one of them organized in any way.
Every family has a box that’s too important to lose.
“Someday” has a way of becoming “today” with no warning. I’d rather organize these memories on my own timeline than have a disaster make the decision for me.
The 3-2-1 Backup Rule
As I began researching how to protect our family photos, I discovered a simple system that photographers, archivists, and computer professionals have recommended for years: the 3-2-1 Backup Rule.
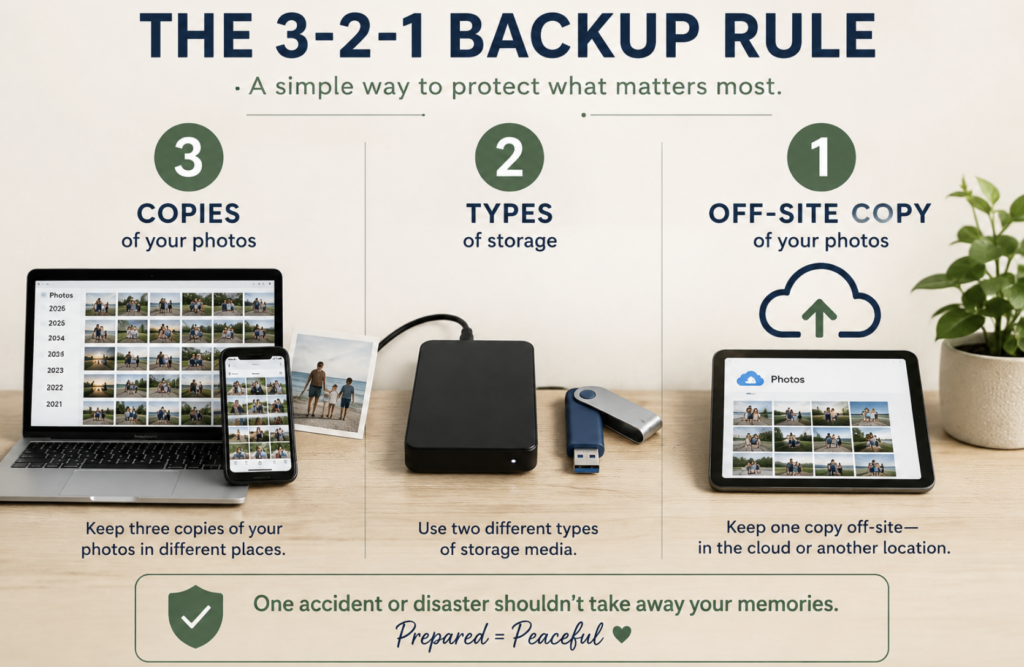
It’s easy to remember.
- Three copies of your photos.
- Two different types of storage.
- One copy stored somewhere other than your home.
If your computer fails, you still have another copy. If your home is damaged, you still have the off-site copy. No single accident can erase your family’s memories.
My System
For me, that looks like this:
Copy One: My Main Photo Library
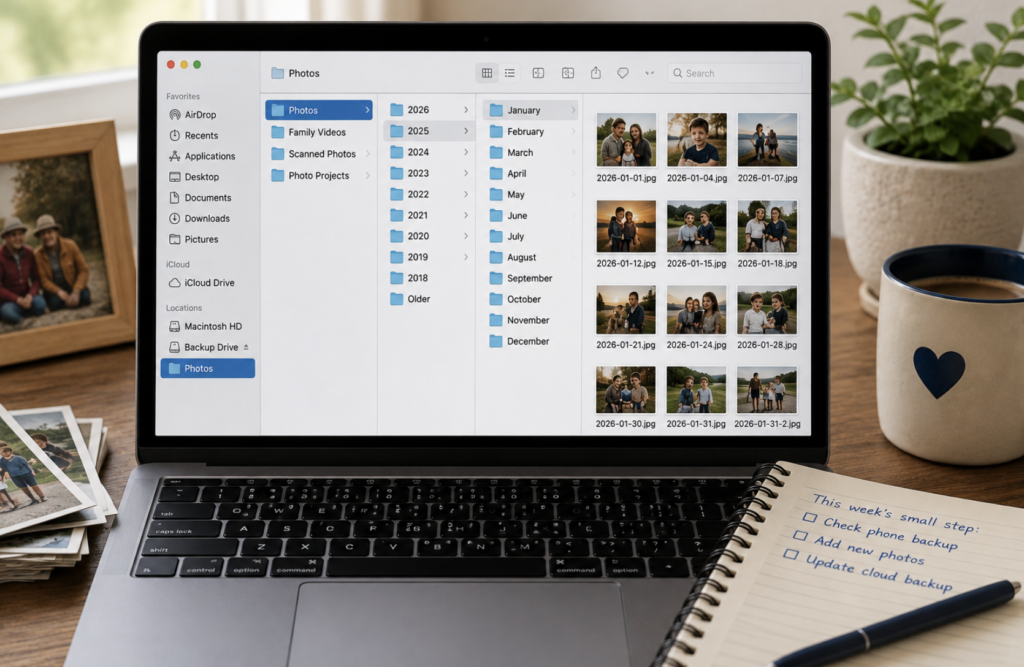
I use a Mac and an iPhone. My main photo library lives on my Mac, where I organize my photographs into folders by year. As I save a photo into a folder, I add keywords to make searching easier. Someday, instead of scrolling through thousands of pictures, I’ll be able to search for “Tony,” “Christmas,” or “2025” and quickly find exactly what I’m looking for.
Keeping my main collection on my computer also gives me much more control over how my photos are organized than trying to manage everything from my phone.
Copy Two: An External Hard Drive
Right now I’m still using an older Maxtor drive, but I plan to replace it soon with a newer Seagate drive.
This backup stays disconnected most of the time, protecting it from malware, accidental deletion, or online problems. It’s also small enough that if we ever had to evacuate, I could simply unplug it and take it with me.
Copy Three: Cloud Storage
Since I already pay for Amazon Prime, Amazon Photos was the obvious choice. Prime members receive unlimited full-resolution photo storage, so there wasn’t any additional monthly cost.
There are plenty of other excellent options, including Google Photos and iCloud. The important thing isn’t which service you choose. It’s having at least one copy stored somewhere other than your home.
A Quick Tip I Learned
When I sat down to start this project, I discovered something I wasn’t expecting.
My iPhone had quietly stopped syncing with my Mac, probably after a software update. I had no idea.
Fortunately, it only took a few minutes to fix, but it reminded me that assumptions aren’t backups.
If you use an iPhone and a Mac—or really, any phone and computer—take a few minutes to make sure your photos are actually syncing the way you think they are.
Once mine was working again, I uploaded everything to Amazon Photos. After the initial setup, it quietly backed up my photos in the background while I worked on other things.
One Important Caution
Before you start cleaning up the photos on your phone, make sure you understand how your cloud backup works.
Many cloud photo services keep your phone and your cloud library synchronized. That means if you delete a photo from your phone, it may also be deleted from your cloud backup (although it may remain in a “Recently Deleted” folder for a short time).
For that reason, don’t delete any photos you want to keep until you’ve copied them into your main photo library on your computer and confirmed they’re safely backed up.
Think of your computer as your master collection. Your phone is simply where many of the photos begin their journey.
Once you know your photos are safely stored in your main photo library, backed up to an external hard drive, and protected in the cloud, you can organize and remove unwanted photos with much greater confidence.
Don’t Forget Your Printed Photos
Many of us still have boxes of printed photographs tucked away in closets, attics, or spare bedrooms.
Those deserve protection, too.
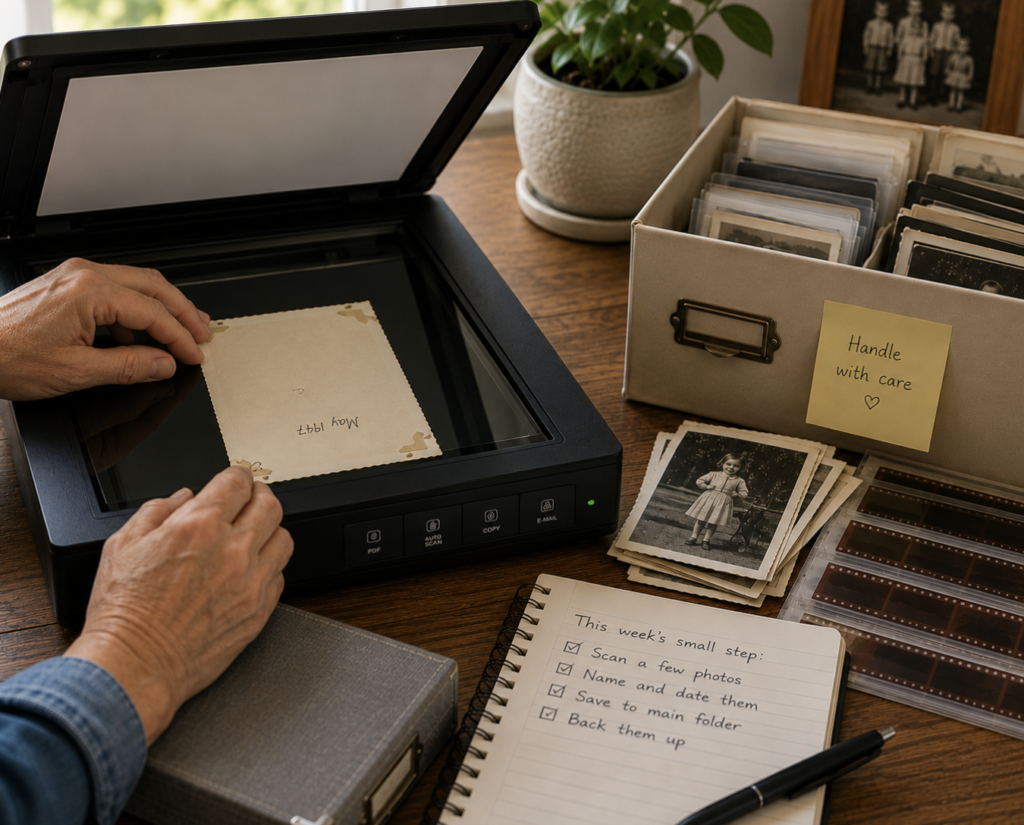
Keep them somewhere cool and dry whenever possible, away from excessive heat and humidity. As you have time, begin scanning them a little at a time.
And if you still have negatives, don’t throw them away. In many cases, they can produce better digital scans than the original prints, especially if the photographs have faded over the years.
I’ll be tackling that project next. One box at a time.
This Week’s Small Step
Don’t try to organize every photograph you own this weekend. Instead, take one simple step that will protect the memories you’re creating today.
- Check that your phone is backing up your photos.
- If it isn’t, choose a cloud backup service and upload the photos from your phone.
- Create a main photo library on your computer if you don’t already have one.
- Begin organizing your digital photos into folders. I chose to organize mine by year, but use whatever system makes the most sense to you.
- Add keywords to your photos. Someday you’ll be grateful you can search for “Tony,” “Christmas,” or “2025” instead of scrolling through thousands of images.
- Don’t delete photos from your phone until you’ve confirmed they’re safely stored in your main photo library and backed up elsewhere.
That’s where I’m stopping for now.
The printed photographs, old albums, and boxes of negatives can wait until another day.
Preparedness doesn’t have to happen all at once.
It happens one small step at a time.
Whether you’re preparing for hurricanes, fires, floods, or simply the passage of time, preserving your family photographs is one of the most meaningful preparedness projects you can undertake.
Start with one box.
One album.
One folder.
Your family’s memories are worth protecting.
I’d love to hear how you organize your photos—or if this article inspired you to finally get started.
Prepared = Peaceful
Want an Easier Way to Get Your Family Prepared?
Download my free Simple Family Emergency Plan and get the important information organized before you need it.
Get the Free Emergency Plan