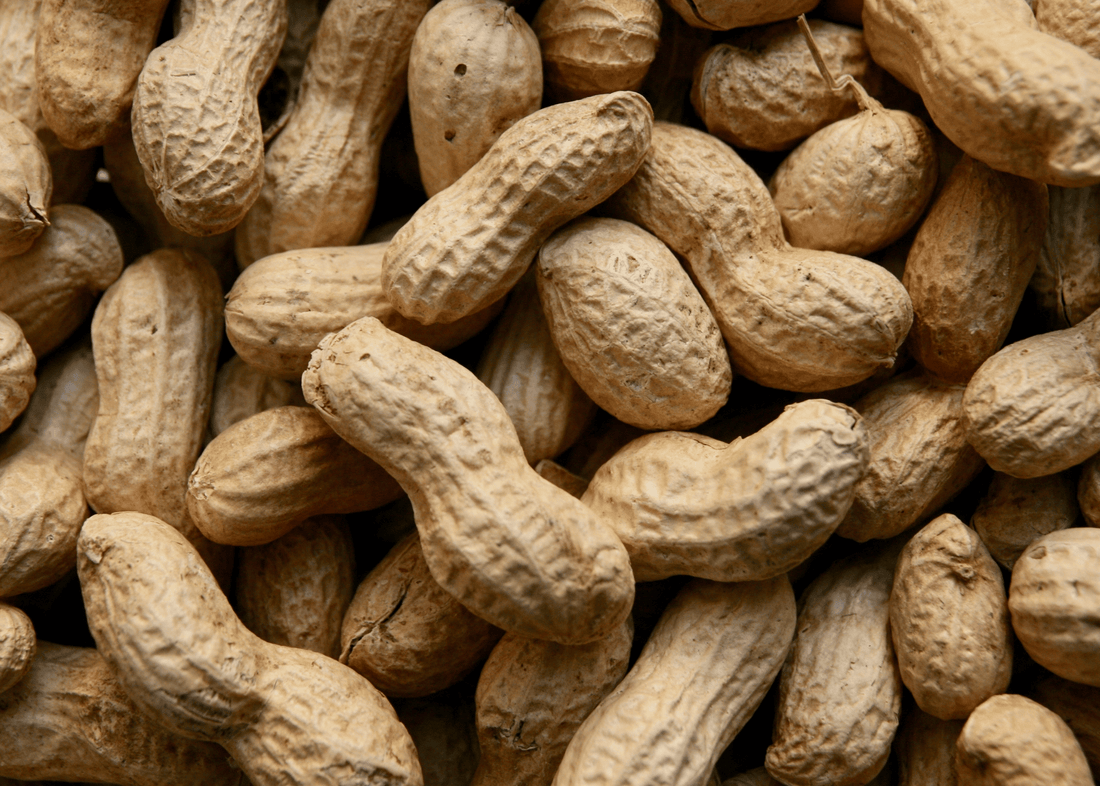
Your Backyard Bounty: Growing Peanuts in Containers
Cynthia KolfGrowing peanuts in containers offers a unique and rewarding gardening experience that is ideal for both seasoned gardeners and preppers alike.
For gardeners, peanuts provide a fun and nutritious crop that is relatively easy to manage, even in limited spaces like a backyard or balcony.
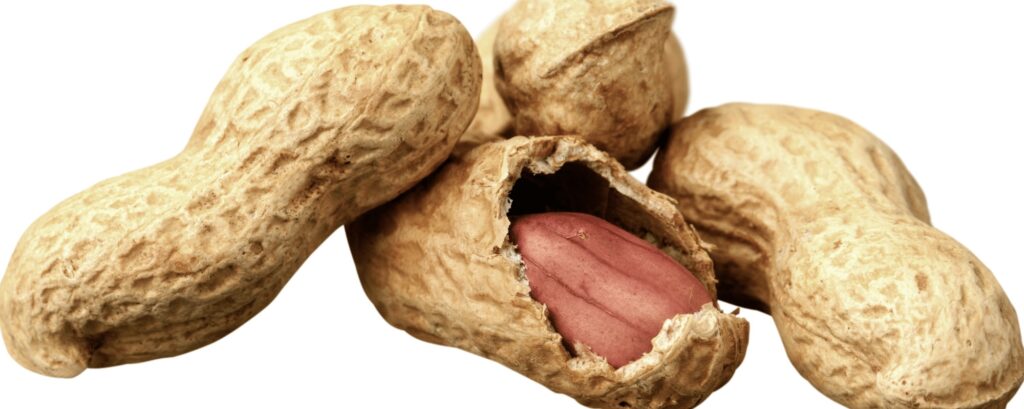
For preppers, peanuts are an invaluable addition to any food security plan. They are a rich source of protein and healthy fats, and they have a long shelf life when properly stored, making them a reliable and sustainable food source in times of need.
Whether you're enjoying your garden or preparing for the unexpected, growing peanuts in containers is a practical and rewarding choice.
When I was deciding what crops to grow in my 10A backyard during the summer, I kept coming back to peanuts! It's hot and we have high humidity with a long growing season, which is perfect for peanut plants.
They will grow easily in a grow bag, and I have two available!
I've never grown peanuts before, and I thought it would be difficult. But after researching, I realized it's much easier than I thought.
Let's get started!
How Peanuts Grow
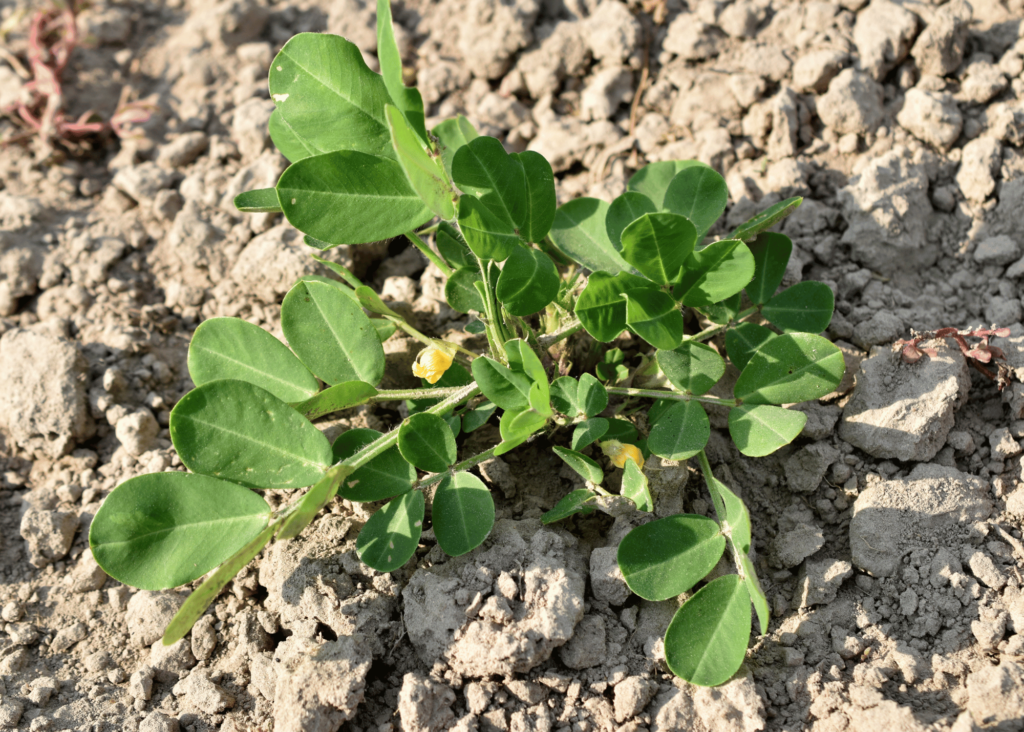
The peanut (Arachis hypogaea), also known as groundnut, is from the legume family and is grown mainly for its edible seeds. It is widely grown in the tropics and subtropics by small and large commercial producers. Fortunately for us, we can enjoy growing them in our own gardens!
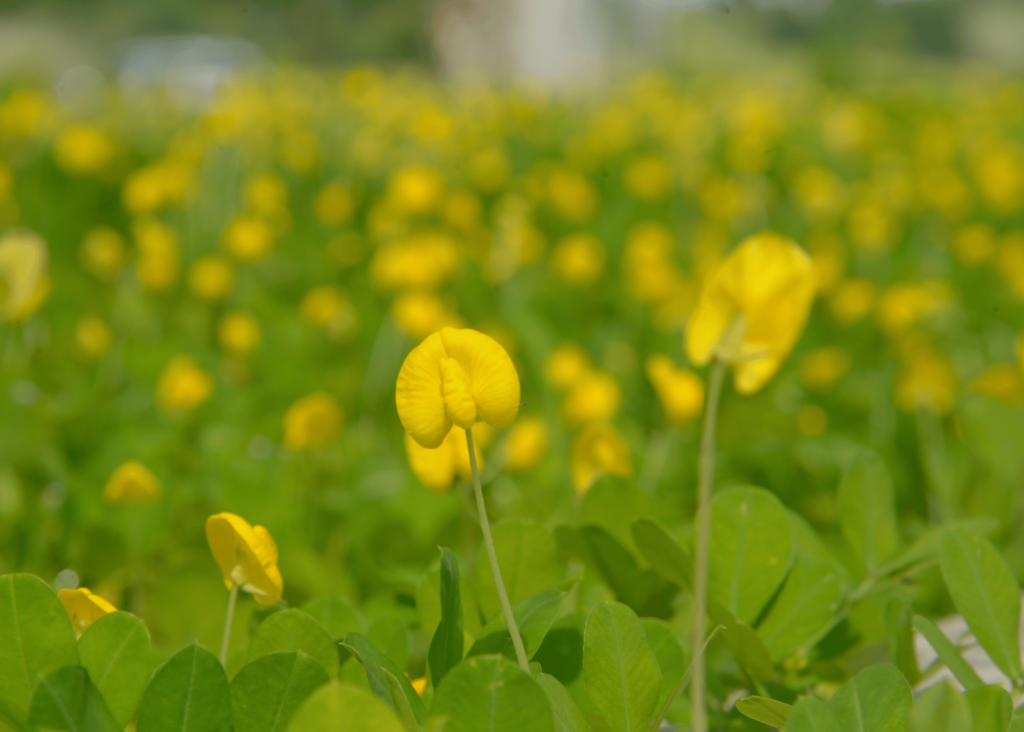
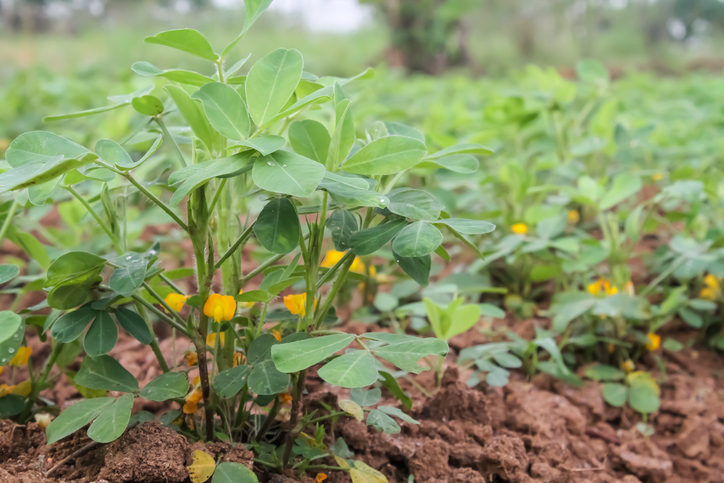
Peanuts grow in a very unusual way, so watching them form is almost as much of a treat as getting to eat the peanuts themselves. About six to eight weeks after planting, small yellow flowers will begin to form.
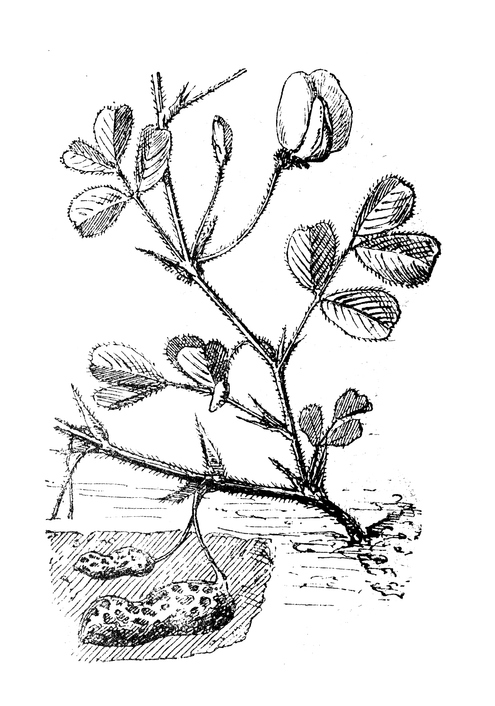
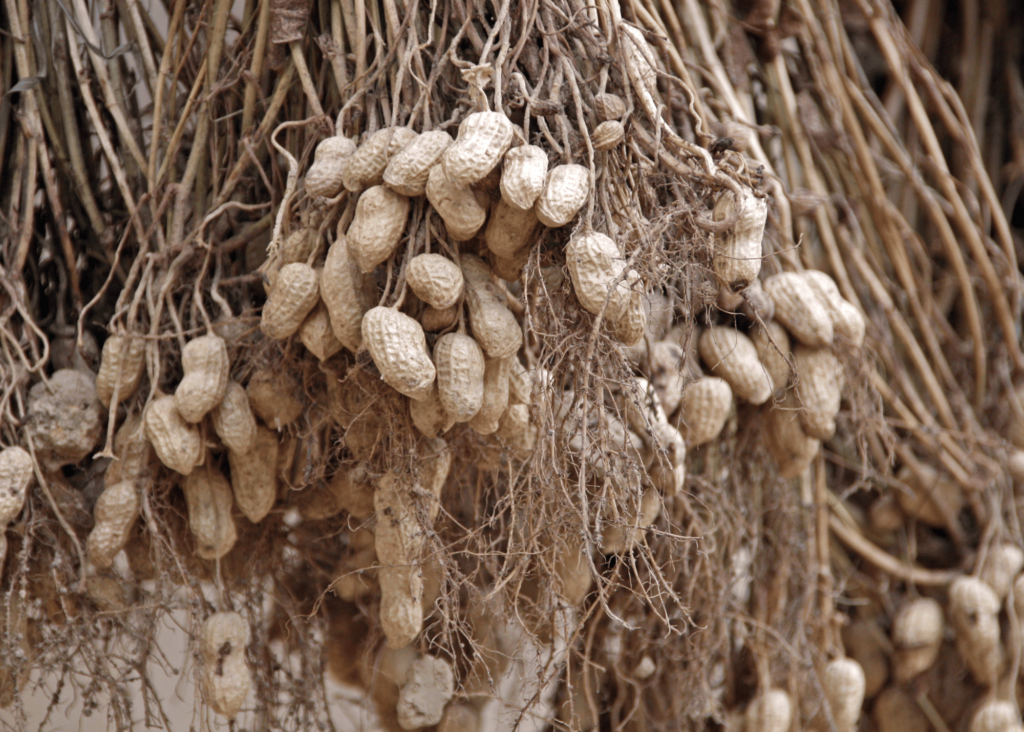
After flowering, small offshoots called pegs will begin to form at the base of each flower. Once the flowers are pollinated and the petals fall off, these pegs elongate and grow downwards, eventually penetrating the soil.
Once under the soil, the pegs turn sideways and start to develop peanut pods at their tips. This unique growth process allows the peanuts to mature underground, typically beginning around the four-month mark.
After they start forming, it usually takes another three to four weeks for the peanuts to fully develop and be ready for harvest.
A single plant can grow 30-50 peanuts, so the plant needs some room to spread out to send as many of its shoots as possible into the dirt.
An important fact to know about growing peanuts is that they take a long time from planting to harvest, typically 4 to 5 months.
In my Florida garden, even planting now, I will still have warm weather in November, but depending on what USDA zone you live in, it might be too late to start at the end of June.
Many northern gardeners begin their peanut crops indoors and then transplant them outside after the last frost. Peanuts like warm soil, so remember that nighttime temperatures need to be consistently above 55 degrees F.
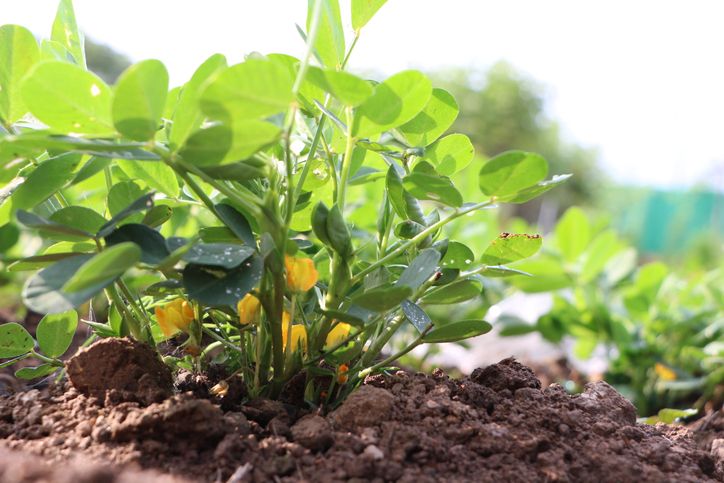
Selecting Varieties and Planting
There are many different peanut varieties, but some are particularly well-suited for container gardening due to their growth habits and size. Recommended varieties include:
- 'Tennessee Red Valencia': Known for its sweet flavor and relatively short growing season. This variety produces small, red-skinned peanuts and is highly adaptable, making it a great choice for containers.
- 'Jumbo Virginia': Popular for its large peanuts, this variety requires a longer growing season, so it’s ideal for warm climates or for starting indoors.
- 'Early Spanish': Noted for its early maturity, making it suitable for shorter growing seasons. It produces smaller, red-skinned peanuts and has a bushier growth habit, perfect for container gardening.
I will be growing the 'Tennessee Red Valencia' variety that I purchased from Urban Farmer. I will be using the same grow bags that I used to grow potatoes earlier this year.
You can source peanut seeds from many nurseries and online stores such as Urban Farmer or Burpee. I did not have any luck locating peanuts at my local garden centers.
Remember that a peanut seed is just a raw peanut. If your local market sells raw peanuts, you can try planting a few, but they aren't guaranteed to work. Avoid planting boiled or roasted peanuts, as they won't germinate.
Preparing the Soil
To ensure your peanut plants thrive, proper soil preparation is crucial. Follow these steps to prepare the soil for planting peanuts in containers:
-
Mix Potting Soil and Vermiculite:
- Combine high-quality potting soil with large vermiculite to improve soil aeration.
- The vermiculite helps create tiny air pockets in the soil, which are essential for root growth and seed germination.
-
Moisten the Soil:
- Before planting, moisten the soil mixture. Peanuts need a combination of darkness, air, and moisture to sprout effectively.
-
Ensure Adequate Drainage:
- Check if your container has sufficient drainage holes. If not, add drainage holes to prevent waterlogging.
- Good drainage is essential to avoid root rot and other water-related issues.
-
Fill the Grow Bag:
- Fill your grow bag about two-thirds full with the prepared soil mixture.
- This depth provides enough space for the peanut plants to develop their underground pegs where the peanuts will form.
By following these steps, you'll create an optimal growing environment for your peanut plants, ensuring they have the space, nutrients, and conditions needed to thrive.
Inoculating Peanut Seeds
Inoculating peanut seeds can significantly enhance their growth by aiding in nitrogen fixation, which improves soil health and boosts plant development. While inoculating is not strictly necessary, it is a good practice for achieving optimal results. Follow these steps to properly inoculate your peanut seeds:
-
Purchase Peanut-Specific Inoculant:
- Obtain an inoculant specifically designed for peanuts from garden centers or online stores like Amazon.
-
Prepare the Inoculant:
- Mix the inoculant with water according to the instructions on the package. This will create a slurry that helps the inoculant adhere to the seeds.
-
Coat the Seeds:
- Place your peanut seeds in a shallow container.
- Pour the inoculant slurry over the seeds, ensuring they are thoroughly coated.
-
Plant the Inoculated Seeds Promptly:
- Plant the inoculated seeds immediately after coating to ensure the effectiveness of the inoculant.
- Dig small holes about 2 inches deep and place two seeds in each hole, spacing them several inches apart.
-
Cover and Water:
- Cover the seeds with soil and water them well.
- Keep the soil consistently moist during the germination period, which typically lasts 7 to 10 days.
By following these steps, you can ensure that your peanut seeds are properly inoculated, giving them a better chance to thrive and produce a healthy crop.
Caring for Peanut Plants
Proper care is essential to ensure a healthy and productive peanut crop. Here are the key aspects of caring for your peanut plants:
Sunlight
- Sun Exposure: Peanuts thrive in a sunny spot with five to seven hours of direct sunlight daily. Ensure your containers are placed in a location that receives ample sunlight.
Watering
- Consistent Moisture: Peanuts require consistently moist soil, especially during germination and early growth. Water regularly, but avoid over-watering, as this can lead to root rot.
- Watering Technique: Water the soil directly rather than the foliage to reduce the risk of fungal diseases.
Wind Protection
- Sheltered Environment: Peanuts prefer a relatively sheltered environment. Strong winds can damage plants, reduce photosynthesis, and increase soil evaporation.
- Wind Barriers: If your growing area is exposed to strong winds, consider using wind barriers or moving containers to a more protected location.
Spacing and Thinning
- Initial Planting: When planting, space the seeds several inches apart to allow room for growth.
- Thinning: As the plants grow, thin them out to ensure they are about 8 to 10 inches apart. This spacing allows each plant enough room to send its pegs into the soil.
Adding Soil
- Supporting Growth: Once the plants reach about 12 inches tall, add more soil to the container to cover the base of the plants. This provides additional support and helps the pegs develop underground.
By following these guidelines, you can provide your peanut plants with the ideal conditions to grow and produce a healthy crop.

Peanut Development
Peanuts have a unique growth process that involves several distinct stages. Here's a timeline to help you understand the key stages from planting to harvest:
-
Germination (0 - 10 days):
- Days 0-10: Seeds germinate and seedlings emerge.
-
Vegetative Growth (10 - 45 days):
- Days 10-45: Plants grow leaves and stems, reaching about 18 inches tall.
-
Flowering (35 - 45 days):
- Days 35-45: Yellow flowers begin to appear on the plants.
-
Peg Formation (45 - 60 days):
- Days 45-60: After pollination, flowers drop their petals and form pegs that grow downward into the soil.
-
Peg Penetration and Peanut Formation (60 - 120 days):
- Days 60-120: Pegs penetrate the soil and turn sideways, beginning to form peanut pods underground.
-
Pod Development and Maturation (120 - 150 days):
- Days 120-150: Peanut pods mature and fill out, ready for harvest.
Peanut Pests
Peanut plants can be harmed by various pests that can slow down their growth and reduce the amount of peanuts they produce. It's important to spot these pests early and take action to keep your plants healthy. Here are some pests to watch out for and ways to deal with them:
Common Pests and How to Handle Them
-
Aphids:
- What They Are: Small insects that suck sap from plants, causing damage to leaves and stems.
- Prevention: Check your plants often and use reflective mulch or companion plants to keep aphids away.
- Control: Use soapy water or natural oils to get rid of aphids. Avoid using too much fertilizer, which can attract them.
-
Cutworms:
- What They Do: Caterpillars that eat young plant stems, cutting down seedlings near the ground.
- Prevention: Use cardboard or plastic collars around plants when they are small to protect them.
- Control: Pick off cutworms at night or use special bacteria that only affect caterpillars if needed.
-
Rodents (Squirrels, Mice, Chipmunks):
- What They Do: These animals like to dig up mature peanut pods and can damage plants.
- Prevention: Cover plants with mesh or cages secured in the ground to keep rodents out.
- Control: Use traps or scare devices to keep rodents away. Harvest peanuts as soon as they're ready to minimize damage.
Preventing Diseases
- Fungi: Make sure water drains well from the soil and rotate crops to prevent diseases that cause rot and spots on leaves.
By taking these steps, you can protect your peanut plants from pests and diseases, ensuring a healthier and more productive crop.
Harvesting Peanuts
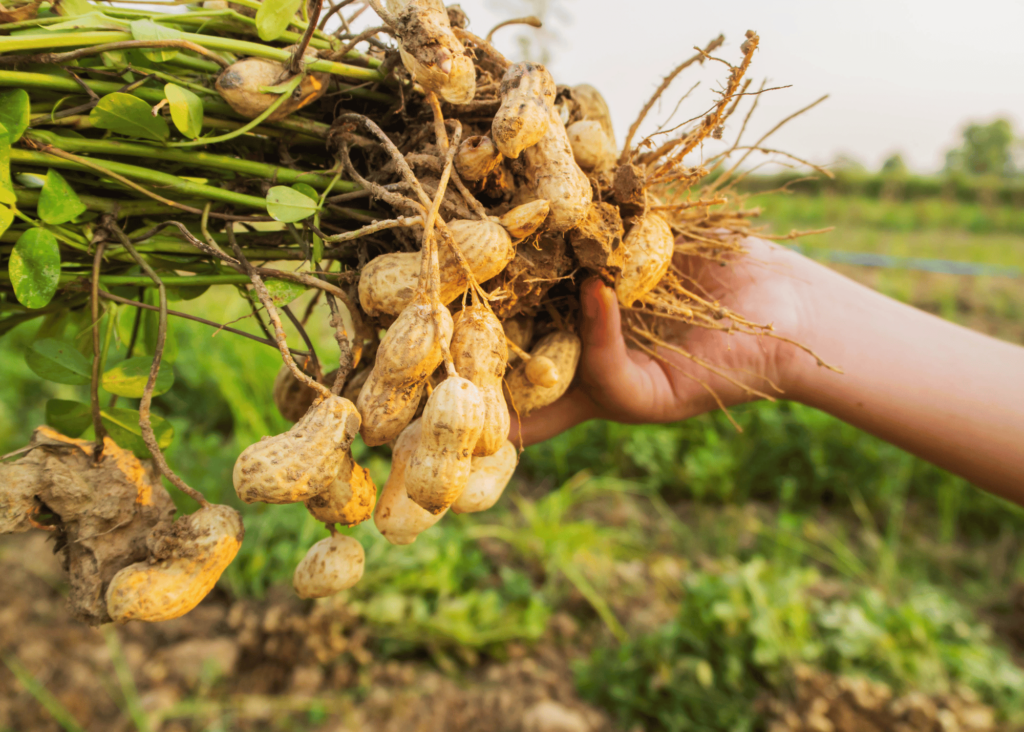
You'll know it's time to harvest when the leaves turn yellow and the plant appears to be dying. Harvest before the first frost (if you have one) by digging the entire plant out of the ground.
To harvest peanuts, it is as simple as digging up the plants. The pegs and peanuts under the soil will all come out together. Once out of the soil, the peanut plant should be dried above the soil for a week or two.
At that point, the peanut pods can be separated and are ready to go!
Storing Peanuts
Once you've harvested your peanuts, it's important to store them properly to keep them fresh and tasty for longer. Here’s how you can store peanuts after harvesting:
In-Shell Peanuts
- Storage Container: Place in-shell peanuts in a breathable container like a mesh bag or burlap sack. This allows air to circulate, helping to prevent mold.
- Location: Store in a cool, dry place away from sunlight and moisture. A pantry or cellar works well.
- Check Regularly: Periodically check for any signs of mold or pests. Remove any spoiled peanuts to prevent them from affecting others.
Shelled Peanuts
- Airtight Container: Store shelled peanuts in airtight containers such as jars or plastic containers with tight-fitting lids.
- Cool and Dry: Keep in a cool, dry place like a cupboard or pantry to maintain freshness.
- Protection: Protect from moisture and pests by ensuring containers are sealed properly.
Freezing Peanuts
- Long-Term Storage: For extended storage, peanuts can be frozen in airtight containers or freezer bags.
- Labeling: Label containers with the date to keep track of freshness.
- Thawing: Allow frozen peanuts to thaw in the refrigerator before using. This helps maintain their flavor and texture.
Shelf Life
- In-Shell Peanuts: Properly stored, in-shell peanuts can last several months to a year.
- Shelled Peanuts: Stored in airtight containers, shelled peanuts can also last several months.
- Frozen Peanuts: Frozen peanuts can remain good for up to a year or more.
Nutritional Benefits
- High in Nutrients: Peanuts are rich in protein, healthy fats, and vitamins, making them a nutritious snack option.
- Versatile: They can be eaten on their own, roasted, used in cooking, or made into peanut butter.
By storing your peanuts correctly, you can enjoy their fresh taste and nutritional benefits for a long time after harvesting.
Conclusion
Growing peanuts in containers offers both a fulfilling gardening experience and a practical solution for food security. Whether you're cultivating a small balcony garden or preparing for emergencies, peanuts provide a nutrient-rich crop with a long shelf life.
From selecting the right variety and preparing the soil to caring for plants and harvesting the rewards, each step contributes to a successful peanut-growing venture. Embrace the simplicity and satisfaction of growing your own sustainable food source, knowing you're enhancing both your garden and your preparedness efforts.
By following these guidelines, you can enjoy the process of nurturing peanuts from seed to harvest, adding a versatile and nutritious staple to your homegrown produce. Whether you're a novice gardener or an experienced prepper, growing peanuts in containers is a rewarding choice that brings both joy and practical benefits.
Resources:
- Gardeners World: How to Grow a Peanut Plant
- Gardening Know How: Container Grown Peanuts - How to Grow Peanut Plants in Containers
- National Peanut Board: 8 Simple Steps to Grow Your Own Peanuts at Home
- This is My Garden: How to Grow Peanuts in Pots and Containers
